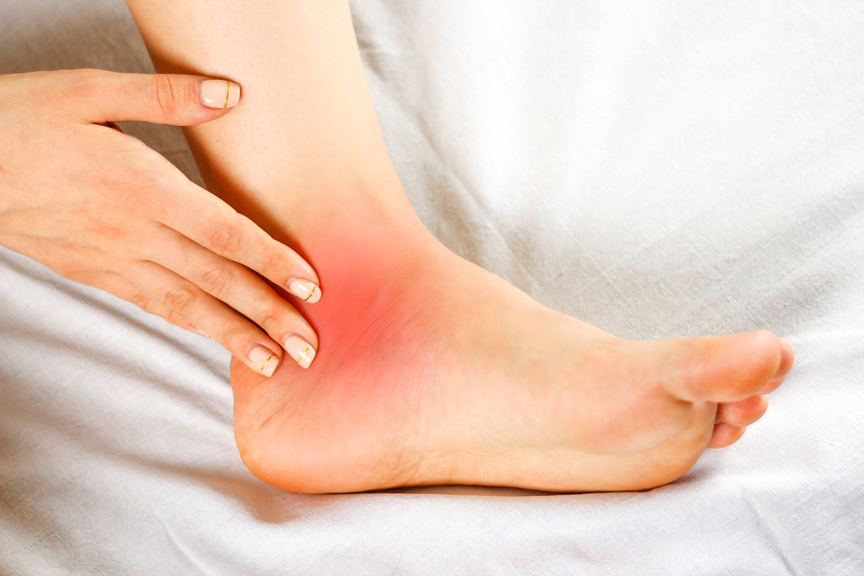
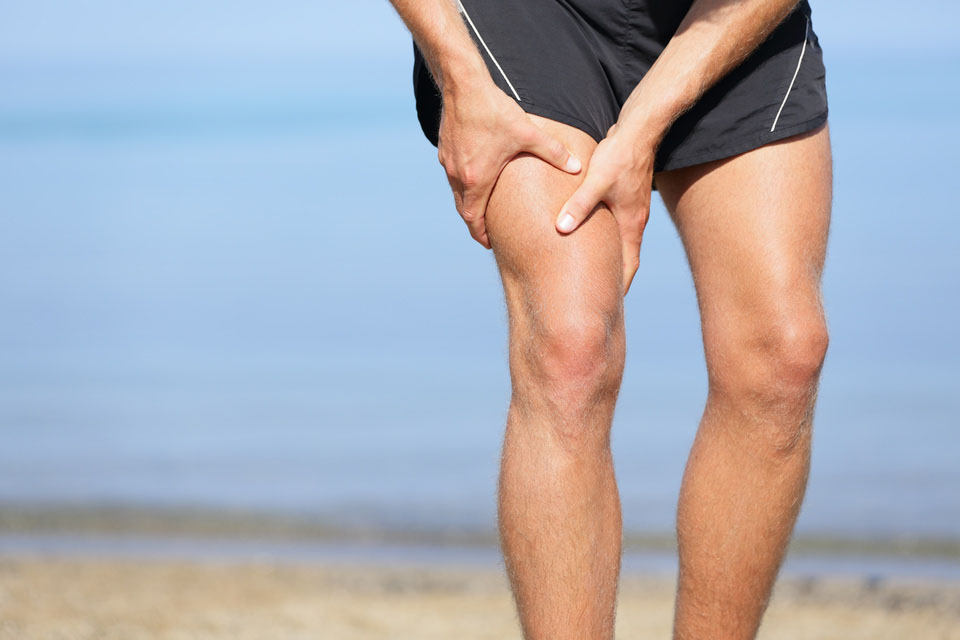
If you have pain along the inside (medial) portion of your ankle or even the arch of your foot, you may have posterior tibialis pain. Posterior tibial tendon dysfunction (PTTD), also known as posterior tibial tendon syndrome or tibialis posterior syndrome, can develop into a tibialis posterior tendon insufficiency which causes a fallen arch. In fact, Posterior tibialis insufficiency is one of the most common reasons for adult acquired flatfoot.
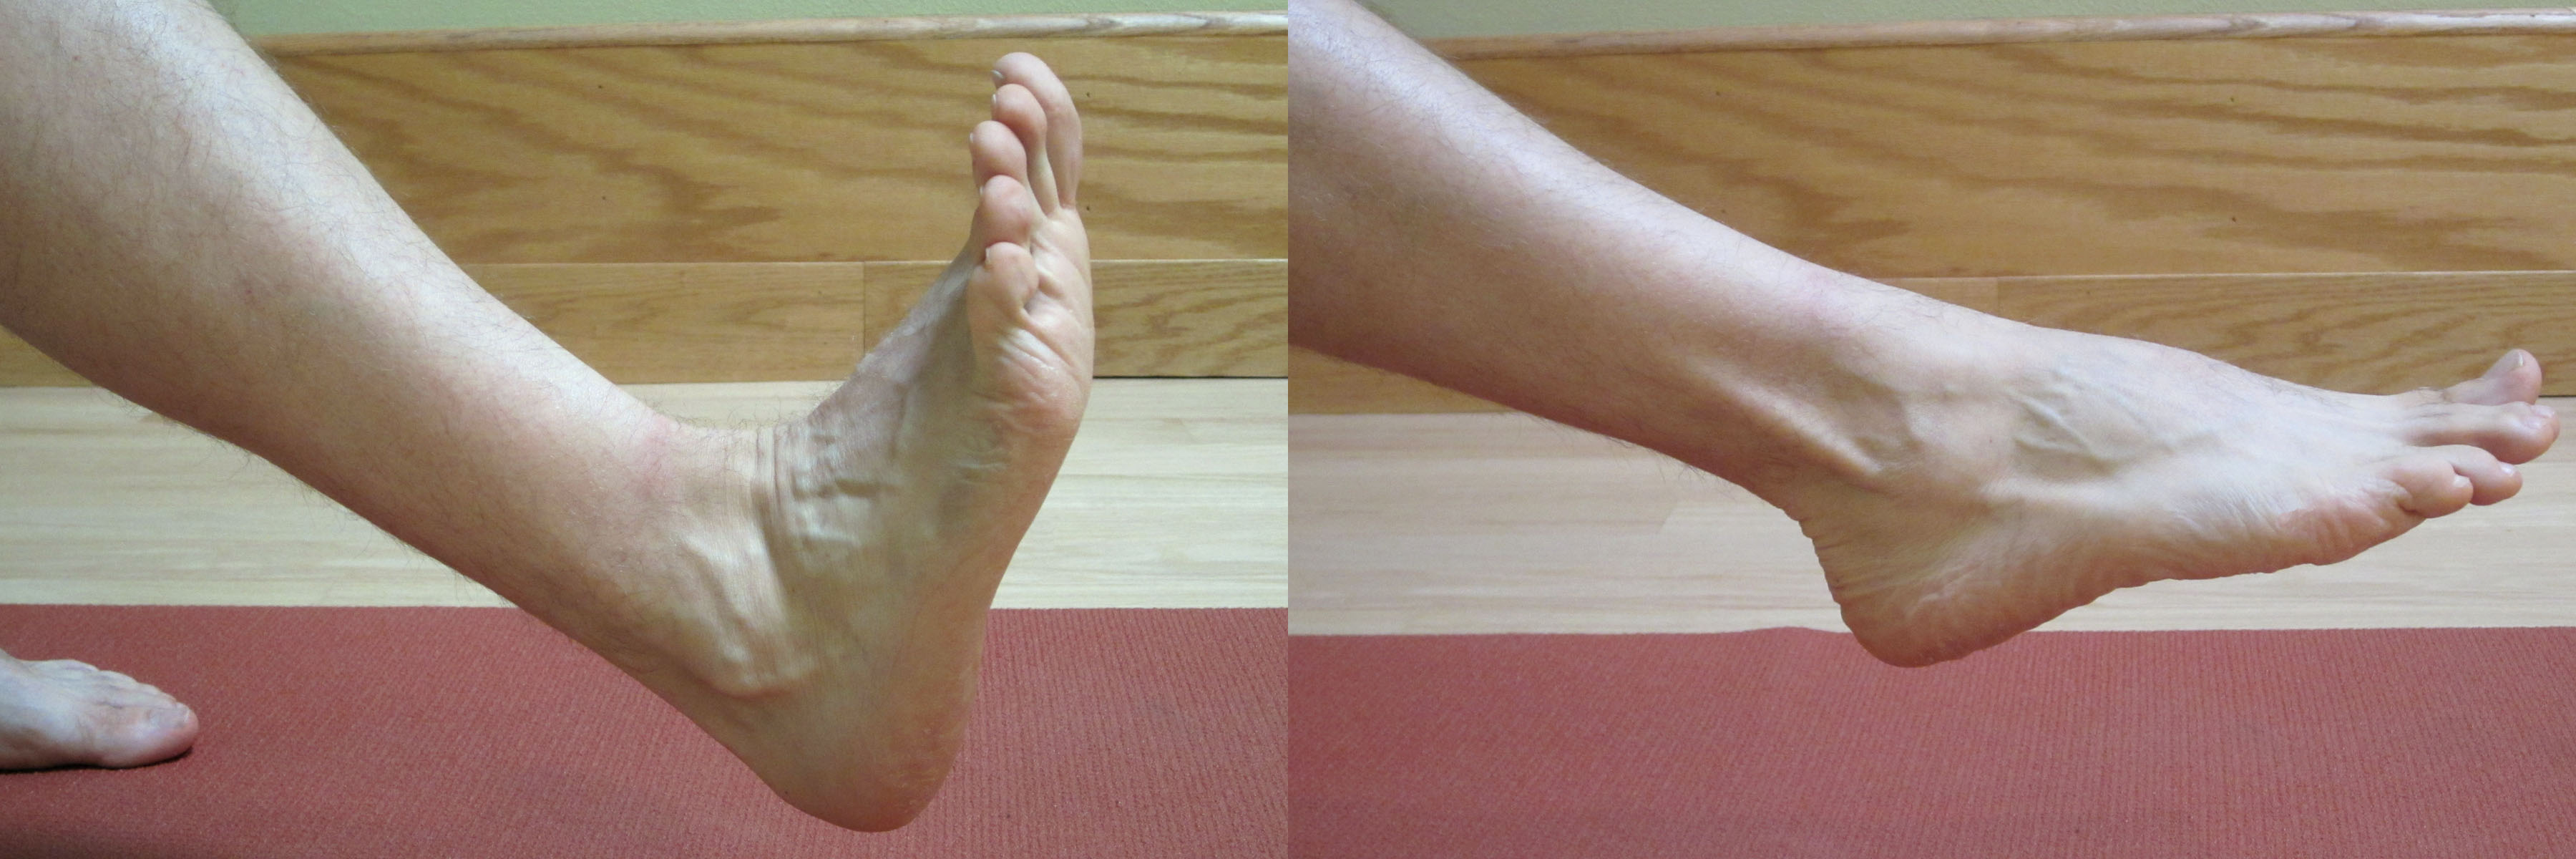
The posterior tibialis muscle is a particularly important muscle as it is used in plantar flexing the ankle (pointing the ankle/toes downward) and inverting the ankle (rolling it inward). More importantly, its role is to support the arch of the foot. Injury to this muscle is common for those that love to stay active and is common in sports with higher impact.
Posterior tibialis dysfunction can be associated with traumatic injury, such as a fall. It typically develops over time depending on your risk factors and the strain your foot has taken. PTTD is almost always progressive in nature. It begins with pain in the ankle, and then progresses to a more serious condition, such as a falling of the arch. When left untreated, this can cause adult acquired flatfoot. A fallen arch is also a common cause of plantar fasciitis.
Risk factors for posterior tibial tendon dysfunction (PTTD) include:
- It is more common in women.
- Those who are 40 years or older.
- Obesity.
- Hypertension (high blood pressure).
- Diabetes.
- Flat feet (sometimes called over pronation).
- Poorly fitting or worn out shoes.
- Poor mobility in the first (great) toe.
- Weak ankle muscles (particularly, the posterior tibialis or the foot intrinsic muscles that help to support the arch of the foot).
- Weakness in the hip, pelvic, and/or core muscles can lead to faulty gait mechanics.
- A change in running surfaces or environments. This is most evident when transitioning from a softer running surface, such as dirt, to a concrete running track or running downhill. This causes overuse or overtraining of the tendon.
- Training overload. Performing too high of training intensities and volumes. This overuse or overtraining of the tendon causes inflammation, swelling, and pain.
Symptoms of PTTD:
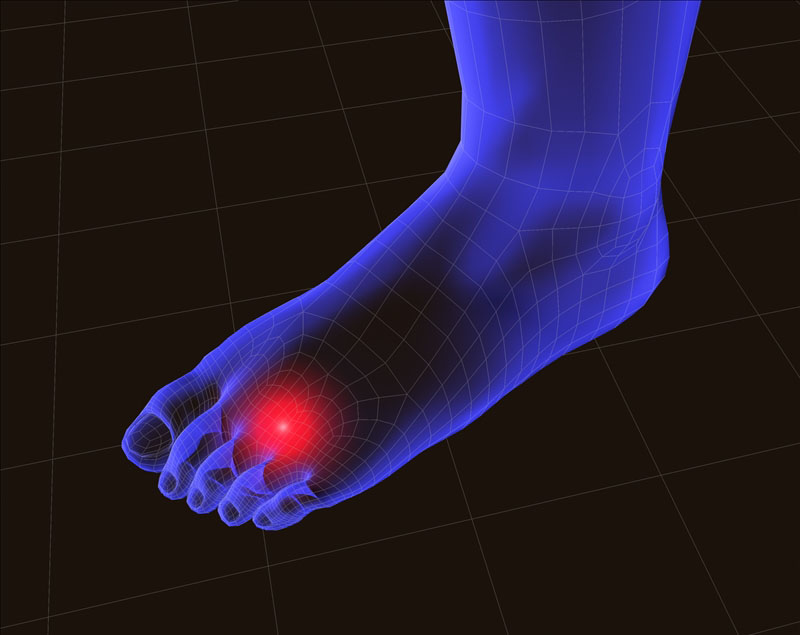
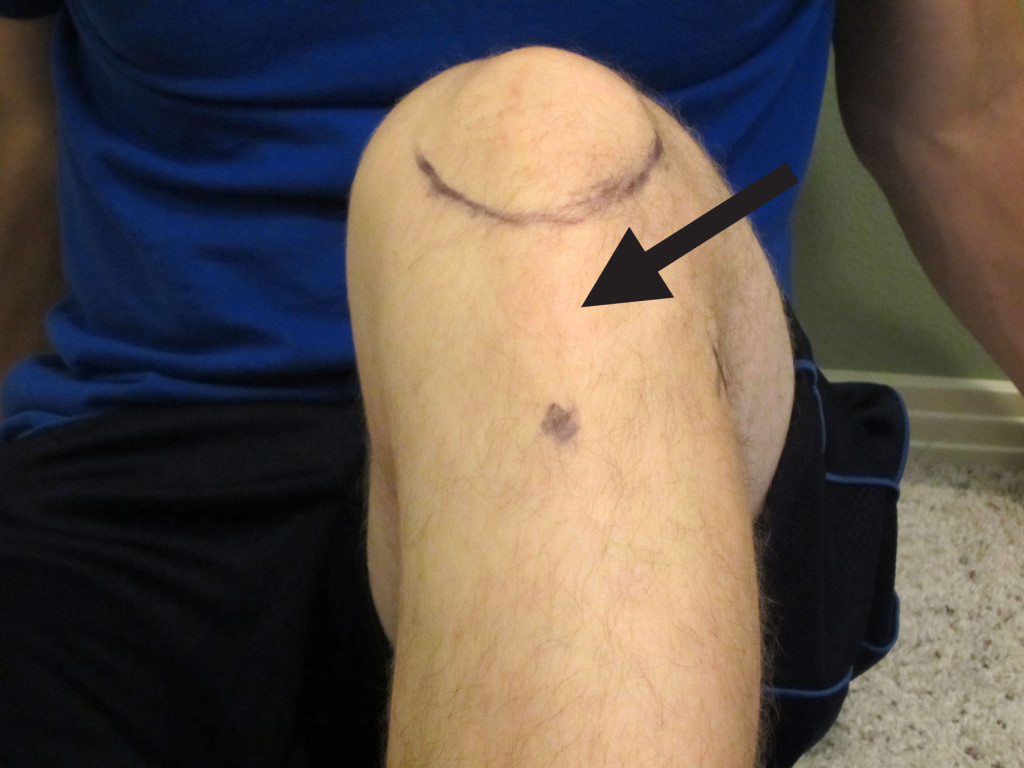
- Pain is typically located along the length of the tendon (which is located on the inside of the foot and ankle near the bump known as the medial malleolus). Pain may also occur in the foot where the tendon attaches to the navicular bone near the arch of the foot.
- The area around the tendon is usually red, warm, and swollen due to an active inflammatory process.
- Pain located along the tendon is worse with activity. The higher the impact, the worse the pain.
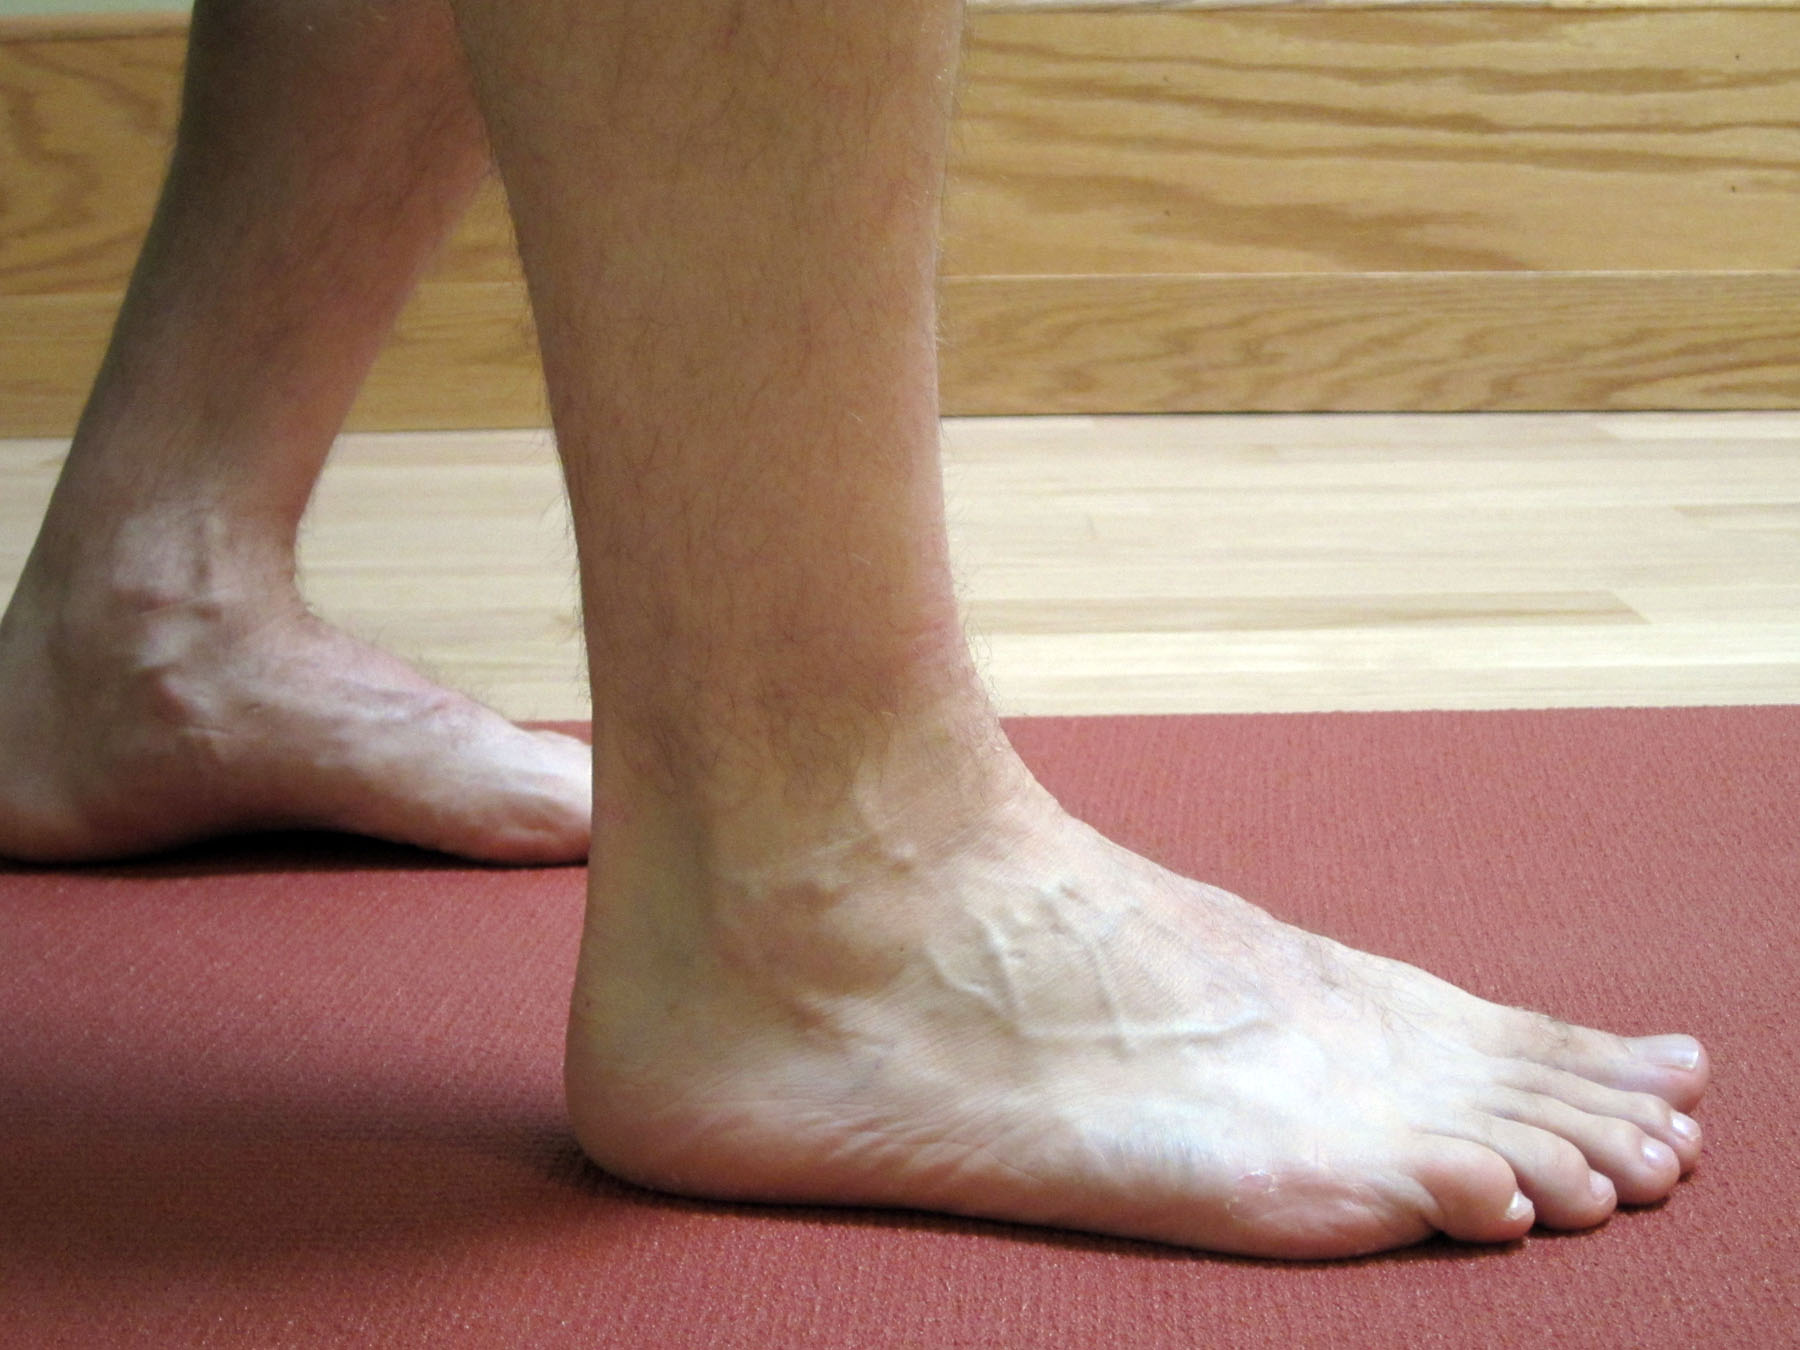
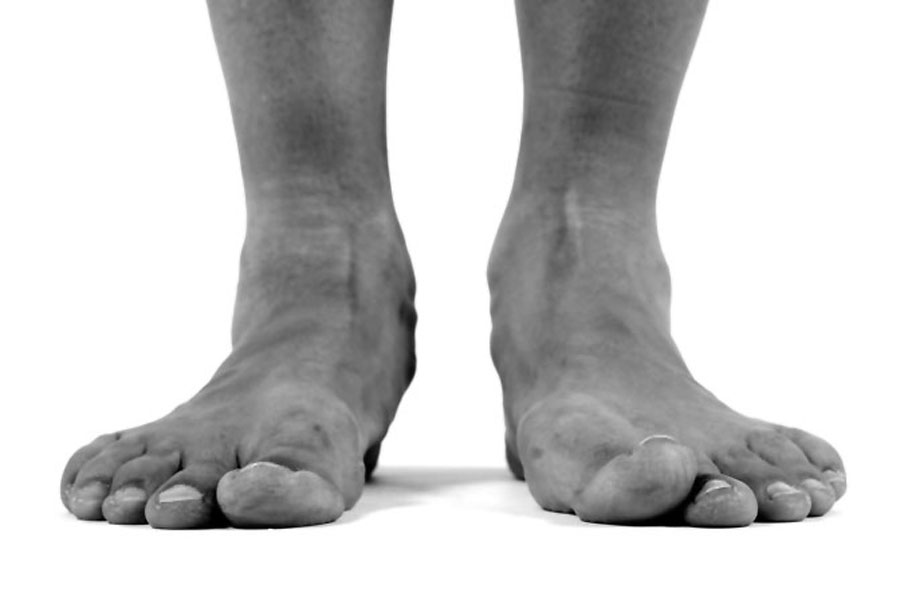
As the condition worsens, the arch will begin to flatten. The ankle and foot begins to roll in as the toes move outward with each step. In advanced cases, a person will often compensate by having the entire lower leg roll outward which often leads to knee, hip, and low back pain.
Once the arch has fallen, pain is more commonly felt on the outside of the ankle (as the posterior tibialis tendon has usually ruptured at this point).
9 Tips to Self-Treat Posterior Tibialis Pain:
Initial treatment.
This condition typically begins as an overuse syndrome with an active inflammatory cycle occurring. The initial course of treatment includes RICE, which stands for Rest, Ice, Compression, and Elevation.
Self-mobilize the tissue.
Be sure to mobilize the tissue in and around the shinbone (tibia). You could also use a tennis or lacrosse ball to aggressively work out the tissue along the shin (as demonstrated in Posterior Tibialis Tendon Dysfunction Exercises). Take care not to be too aggressive when mobilizing the posterior tibialis tendon initially or you may make the pain worse. Instead, initially focus on any other mobility and myofascial restrictions in the lower legs. Utilize a foam roller to address any lower leg tightness or restrictions. I tend to use the foam roller for the larger parts of the leg including the thigh, back of the leg, calves, and buttock muscles. Please refer to Lower Extremity Mobilizations using a Foam Roll.
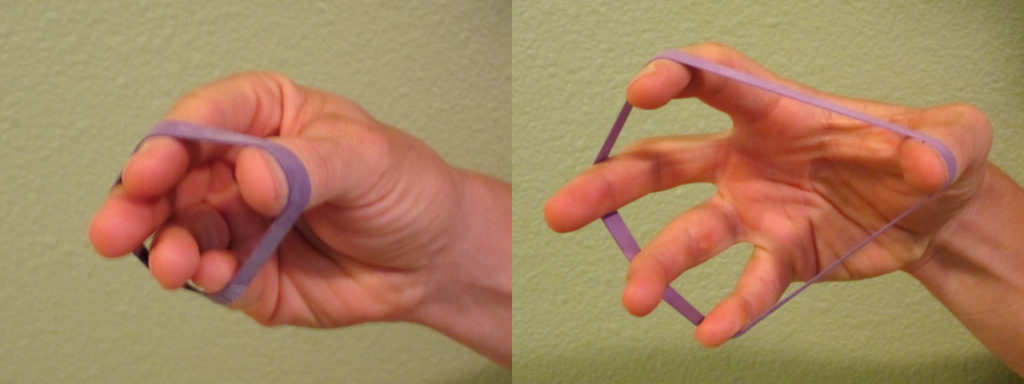
Strengthen your foot and ankle complex.
Weakness in the foot and ankle muscles is a major risk factor in developing PTTD. I recommend initiating a complete ankle and foot strengthening protocol (as demonstrated in Posterior Tibialis Tendon Dysfunction Exercises).

Improve your balance.
Poor balance is often associated with muscle weakness in the foot and ankle as well as the knee and hip musculature. Weakness and balance deficits can lead to poor foot mechanics, which can lead to excessive strain on the posterior tibialis tendon. Practice balancing on one foot.
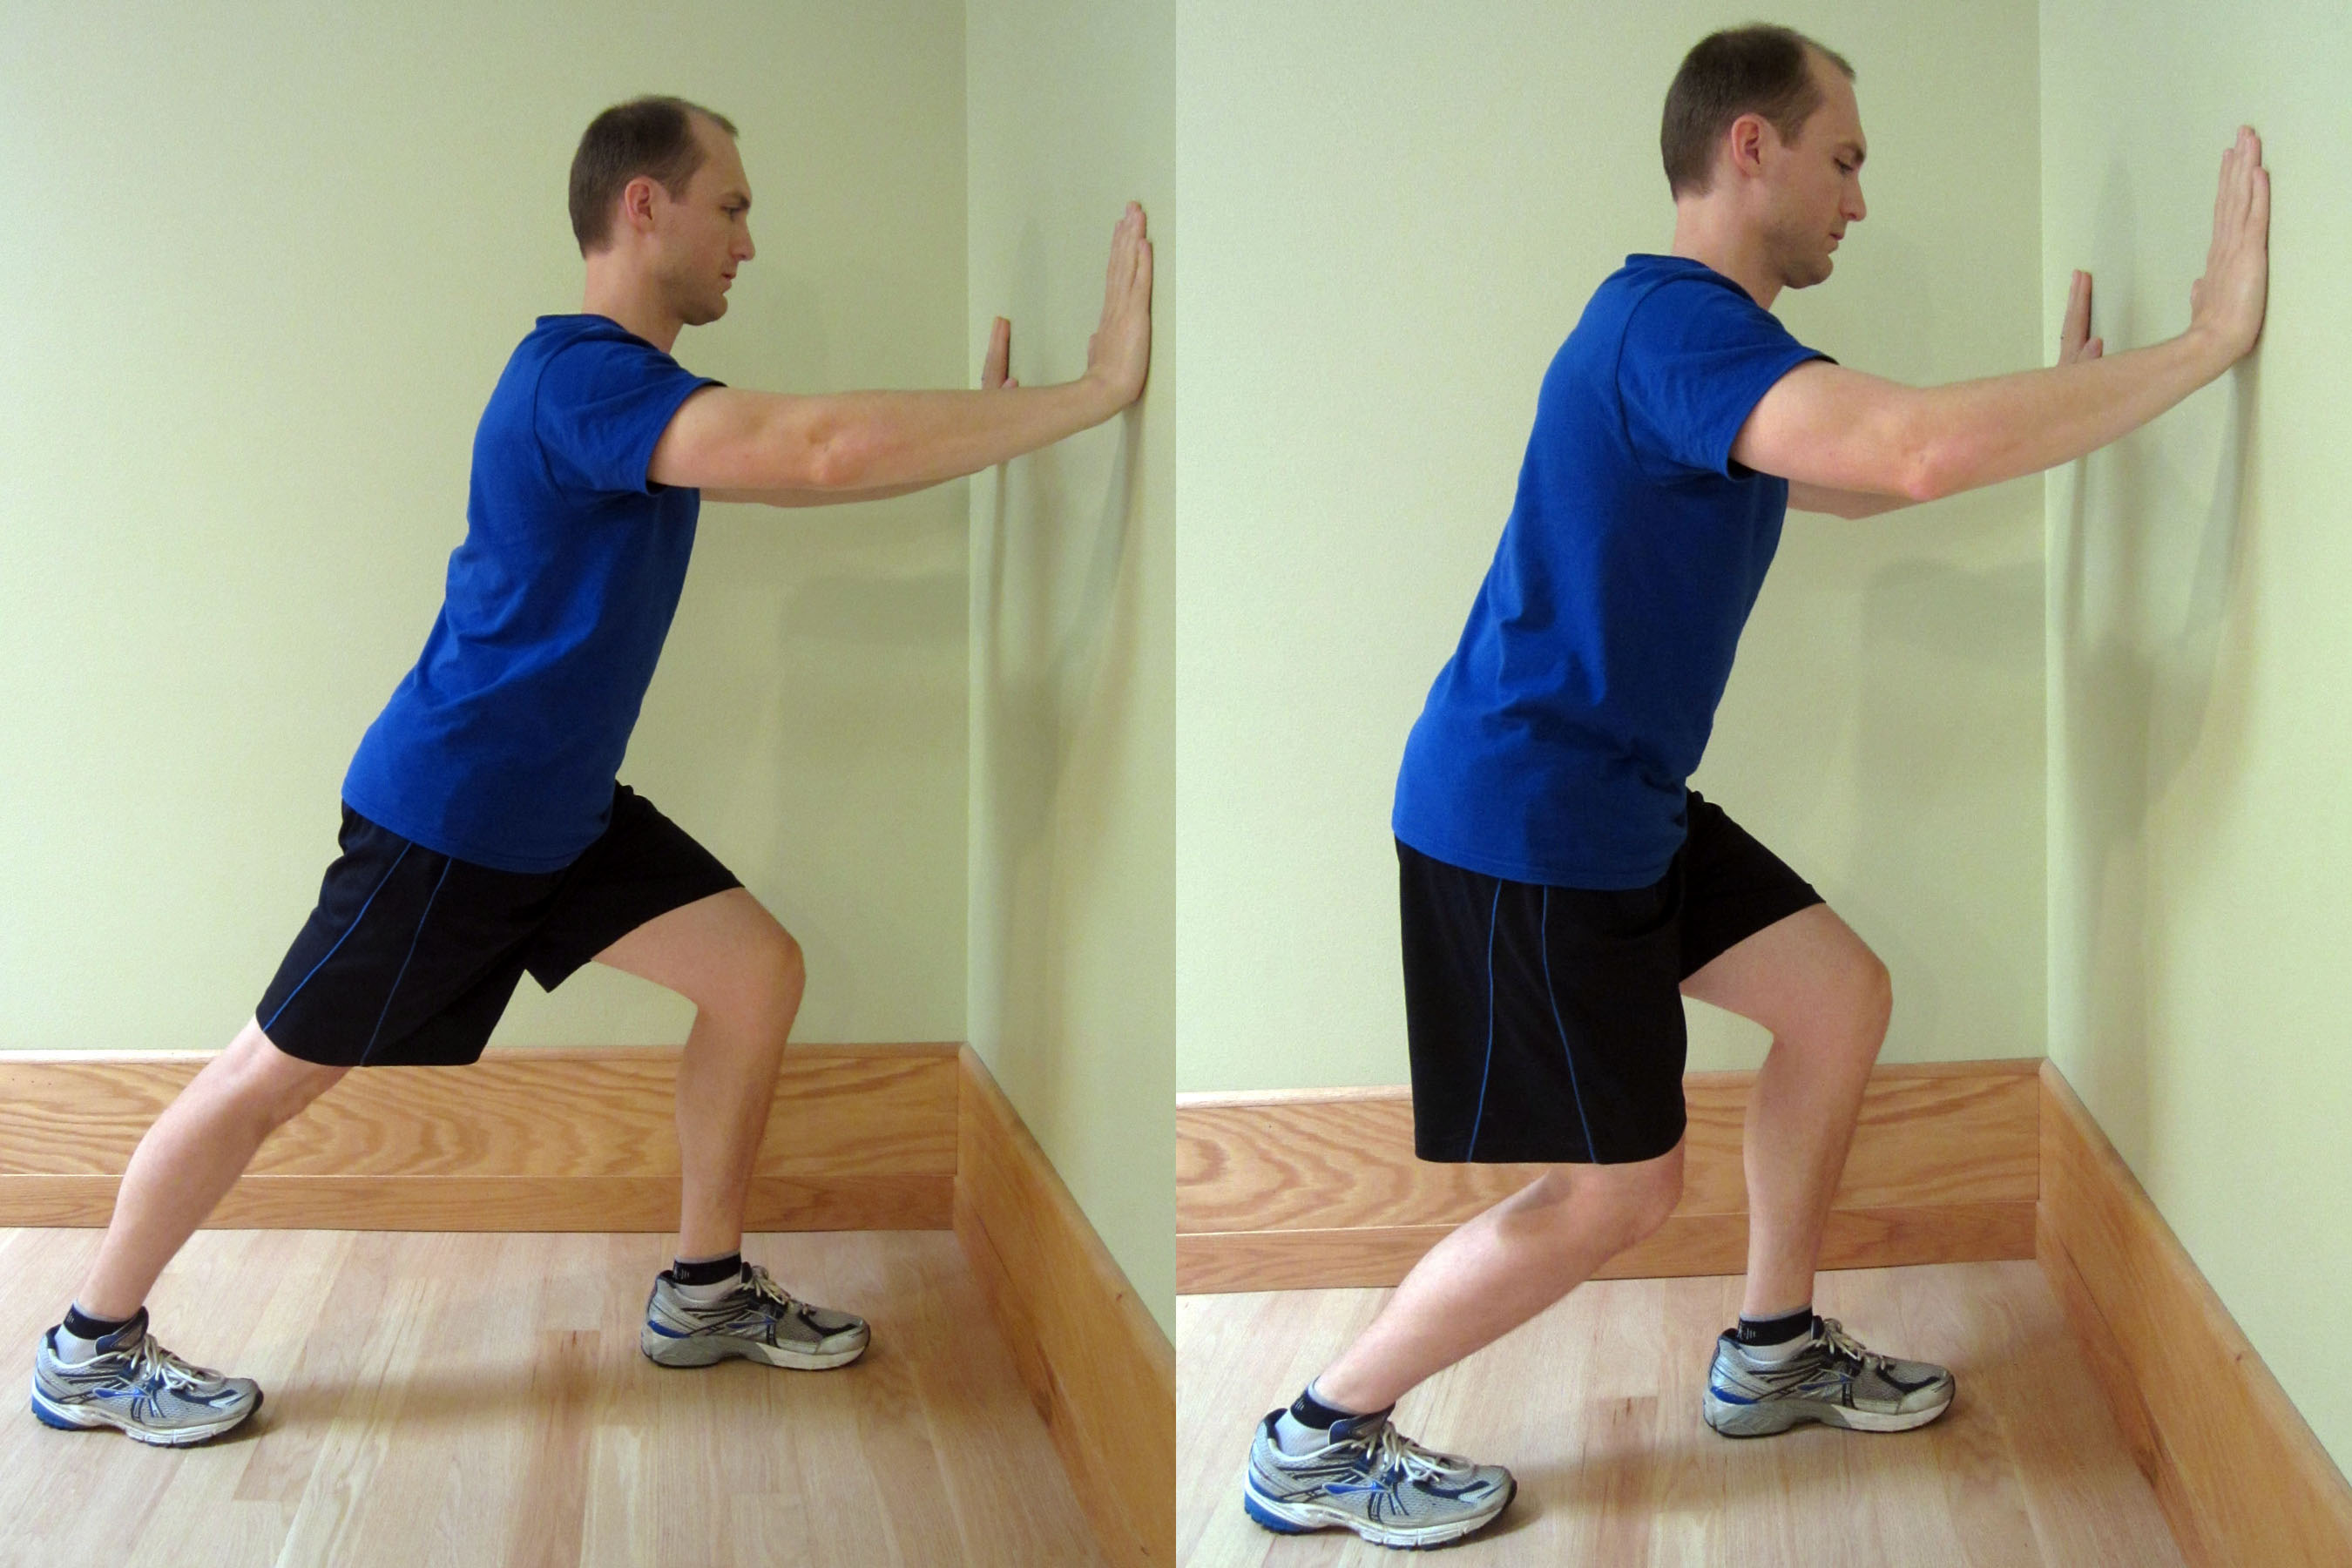
If you change running surfaces, progress slowly.
If you typically run on softer surfaces, such as dirt or a running track, progress carefully and slowly to running on a harder surface (like concrete). Over all, softer running surfaces are better for your body. If your job requires that you stand on a hard surface, adding a foam pad or rubber mat can decrease the strain on your foot and arch.
Avoid training overload.
Don’t progress your training volume and/or intensity levels too quickly. PTTD is most commonly diagnosed as an overuse injury. Proper training is very important to avoid overloading your body. Improper progression of training volume and/or intensity can easily lead an overuse injury like PTTD, Achilles tendinitis or other lower extremity injuries.
Add an orthotic.
Additional foot control is often needed to normalize gait mechanics. Many running stores sell an over-the-counter orthotic such as Superfeet Blue Premium Insoles. The blue tends to fit most feet, but a variety of options are available for customization. In my experience, these insoles can last 1,000 to 1,500 miles easily.
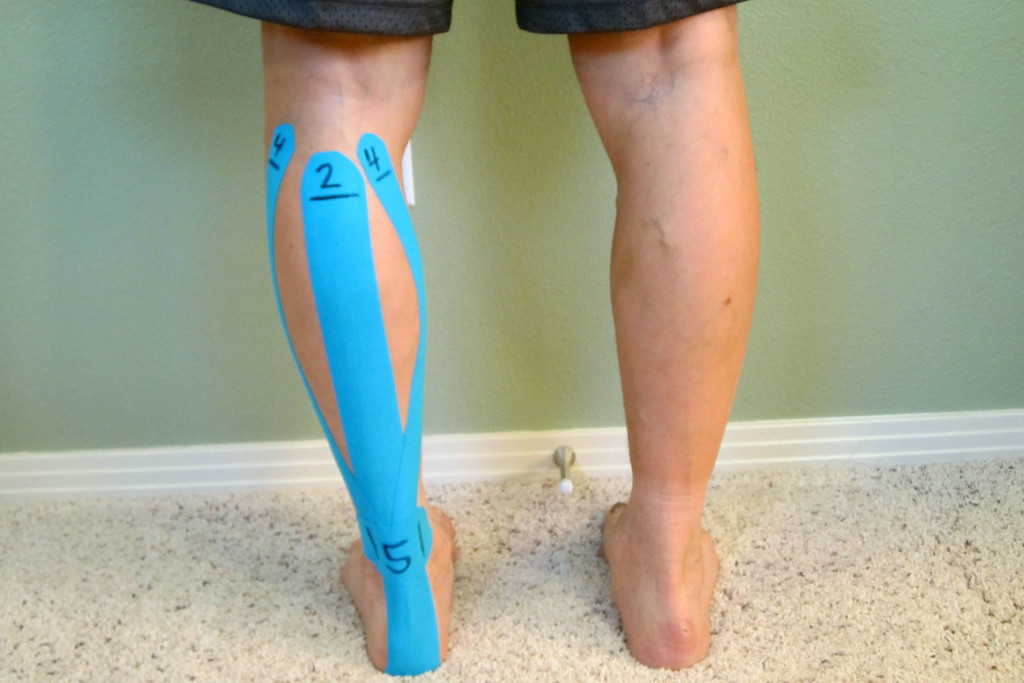
In this video, Taping for Posterior Tibialis Tendon Dysfunction (PTTD), I demonstrate a taping technique for supporting the arch and the bottom of the foot for those suffering from PTTD.
If you continue to experience pain related to your foot or footwear, then you may need to consult with a physical therapist that specializes in feet and orthotics. A custom orthotic may be necessary to correctly support your foot and insure proper foot mechanics. Seek assistance from a professional who is a runner and has experience with treating other runners.
Immobilization.
Sometimes you may need to wear a walking boot in order to immobilize the foot and ankle complex to allow the tendon to heel. In very severe cases, you may need to completely avoid all weight bearing activities. Please seek instruction from your medical physician. If the condition worsens, it’s pertinent to intervene prior to tendon failure.
Ask for help.
If you’re still experiencing pain after implementing these self-treatment strategies, then it may be time to seek additional help. If you are not progressing after 3-4 weeks of implementing these treatment options, speak to your medical professional. Do not take this condition lightly. Other medical conditions can mimic or be associated with PTTD. Your medical physician or physical therapist can help to determine if your pain is associated with a stress fracture, plantar fasciitis, shin splints or another condition. Your physician could also prescribe a stronger anti-inflammatory medication if necessary.
The American Physical Therapy Association offers a wonderful resource to help find a physical therapist in your area. In most states, you can seek physical therapy advice without a medical physician’s referral (although it may be a good idea to seek your physician’s opinion as well).
What has helped you the most to self-treat posterior tibialis pain? Please share your tips!
If you have a question that you would like featured in an upcoming video or blog post, please comment below or submit your question to contact@thePhysicalTherapyAdvisor.com. In case you haven’t already, be sure to subscribe to my e-mail list and YouTube channel as well as join our community on Facebook by following The Physical Therapy Advisor!