Ankle sprains are one of the most common and prevalent musculoskeletal injuries. Although more likely to occur in children, ankle sprains can happen to anyone anytime. In my last post, Ankle Sprains – Acute Phase (Part I of III), I addressed how to handle the initial acute phase of an ankle sprain. I will continue to guide you through the treatment plan on how to rehabilitate your ankle in this three part series by addressing the progression from the acute phase into the intermediate phase.
Sprains are categorized as Grade I, II, or III. A Grade I sprain is the most common. It’s typically associated with only mild damage to the ligament, and instability doesn’t affect the joint. A Grade II sprain is a partial tear to the ligament and is usually associated with some laxity (hypermobility). If this occurs, it’s best to wear a brace for several weeks. Ideally, scar tissue will form and compensate for the lax ligament, so the joint doesn’t become hypermobile. Good muscle strength and proprioception of the lower foot is important to limit future sprains. In Grade III sprains, a full tear of the ligament occurred. One typically consults with an orthopaedic surgeon for possible repair. After surgery, a guided physical therapy program is recommended.
For discussion purposes, I will only address a Grade I sprain. Initially, one may wear an air splint, ACE wrap, or some other lace-up or slip-on style brace to help with stability, inflammation, and pain control of the ankle. In most cases, a person will want to transition from wearing the brace as soon as the initial pain subsides. (If one had a Grade II sprain, he/she would wear a splint for several weeks so that the ankle would initially stiffen.)
At this point in your recovery, you are likely three to seven days since the initial injury. This phase of rehabilitation can last from seven days to several weeks before progressing into the final phase of rehabilitation (and ultimately, back to full function). Progression out of the intermediate phase is always symptom dependent. You should be able to stand with equal weight on your feet and not experience an increase in ankle pain. The ankle is likely stiff at this time, but it is time to start walking, progress range of motion (ROM), and start gentle resistive exercises.
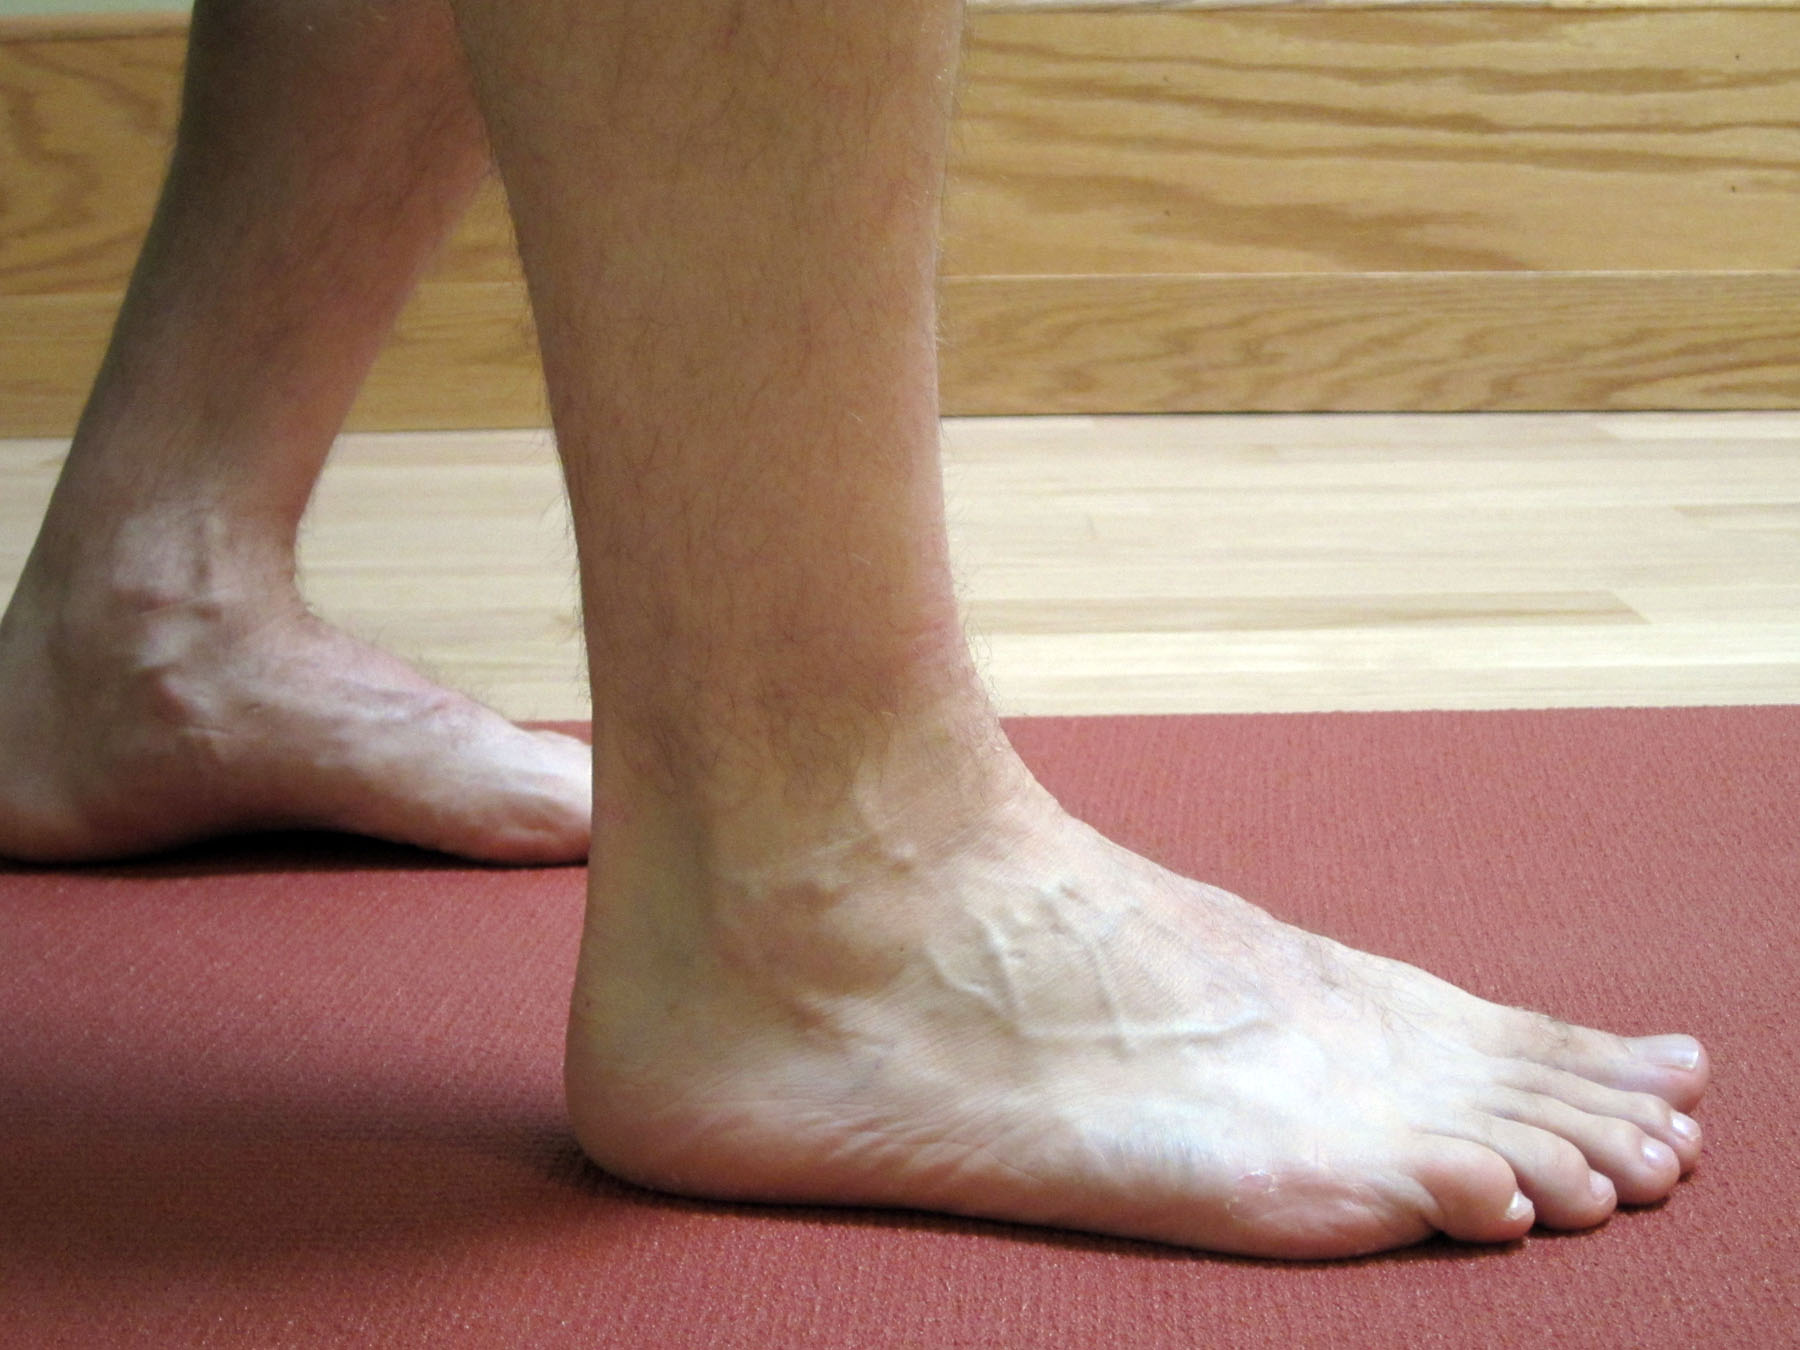
- Walking – If you have been using a crutch to unweight the foot, then start the progression to weight bearing during walking. If you have been walking, then increase the amount of weight you have been putting on the ankle and foot. At this time, the focus will be to normalize your walking pattern. This means having a good heel strike, rolling onto the foot into full weight bearing on the leg, and then propelling forward with a good toe off. You will continue to use the crutch as long as needed until you can walk nearly normal without limping. Until then, utilize the crutch to unweight the leg and foot as much as necessary to perform a nearly normal walk or gait sequence.
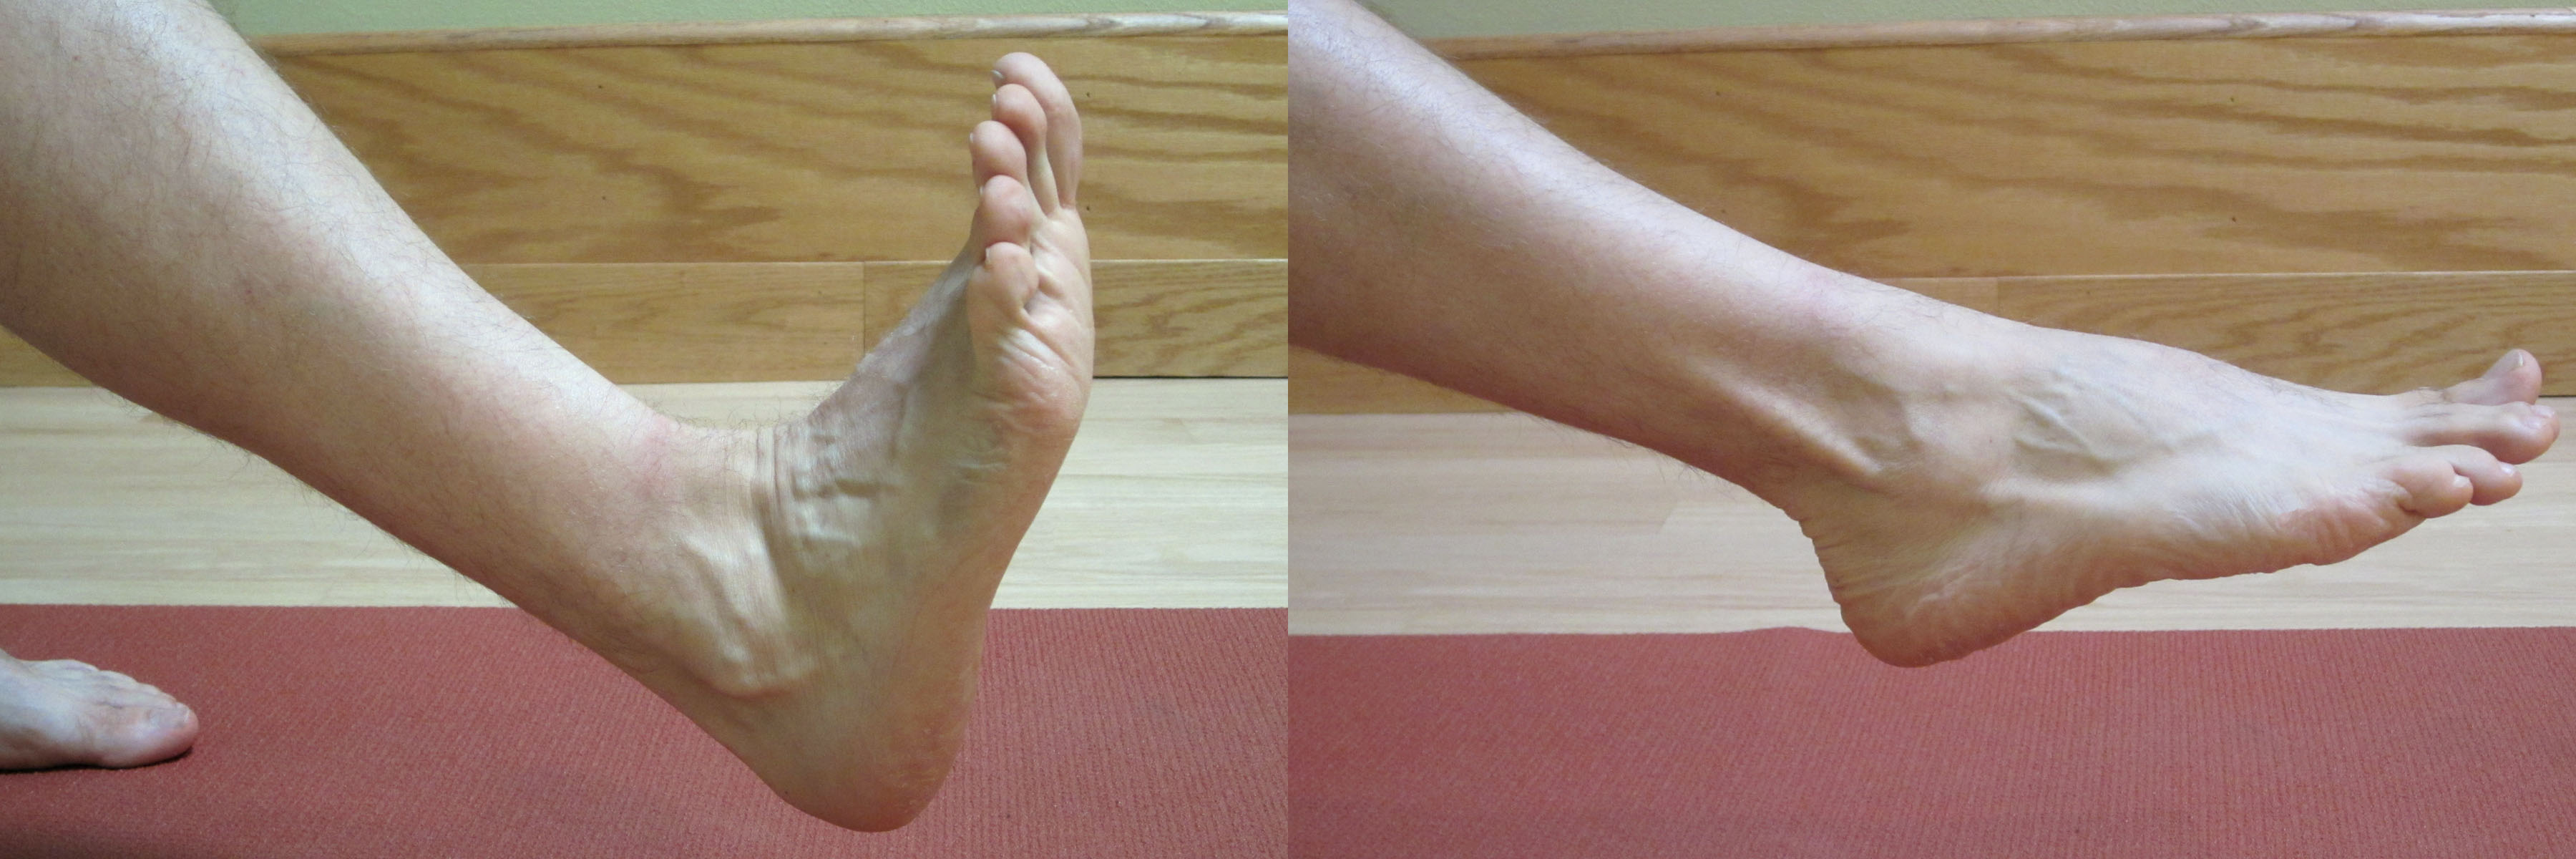
- Range of Motion (ROM) – Start to increase the range of motion of the ankle. Initially, work to progress the plantarflexion and dorsiflexion movement (the forward and backward movement of the ankle). As pain subsides, progress the side to side motion as well as all other motions.
- Recommended Exercises:
- Ankle Pumps – A very easy exercise. Just pump your ankle forward and backward into plantarflexion and dorsiflexion movement. Perform 10-15 repetitions several times a day on both feet
- Ankle Alphabet – Move the foot and ankle only by pretending your big toe is a pen, and draw the alphabet using capital letters. Perform 1-2 times a day.
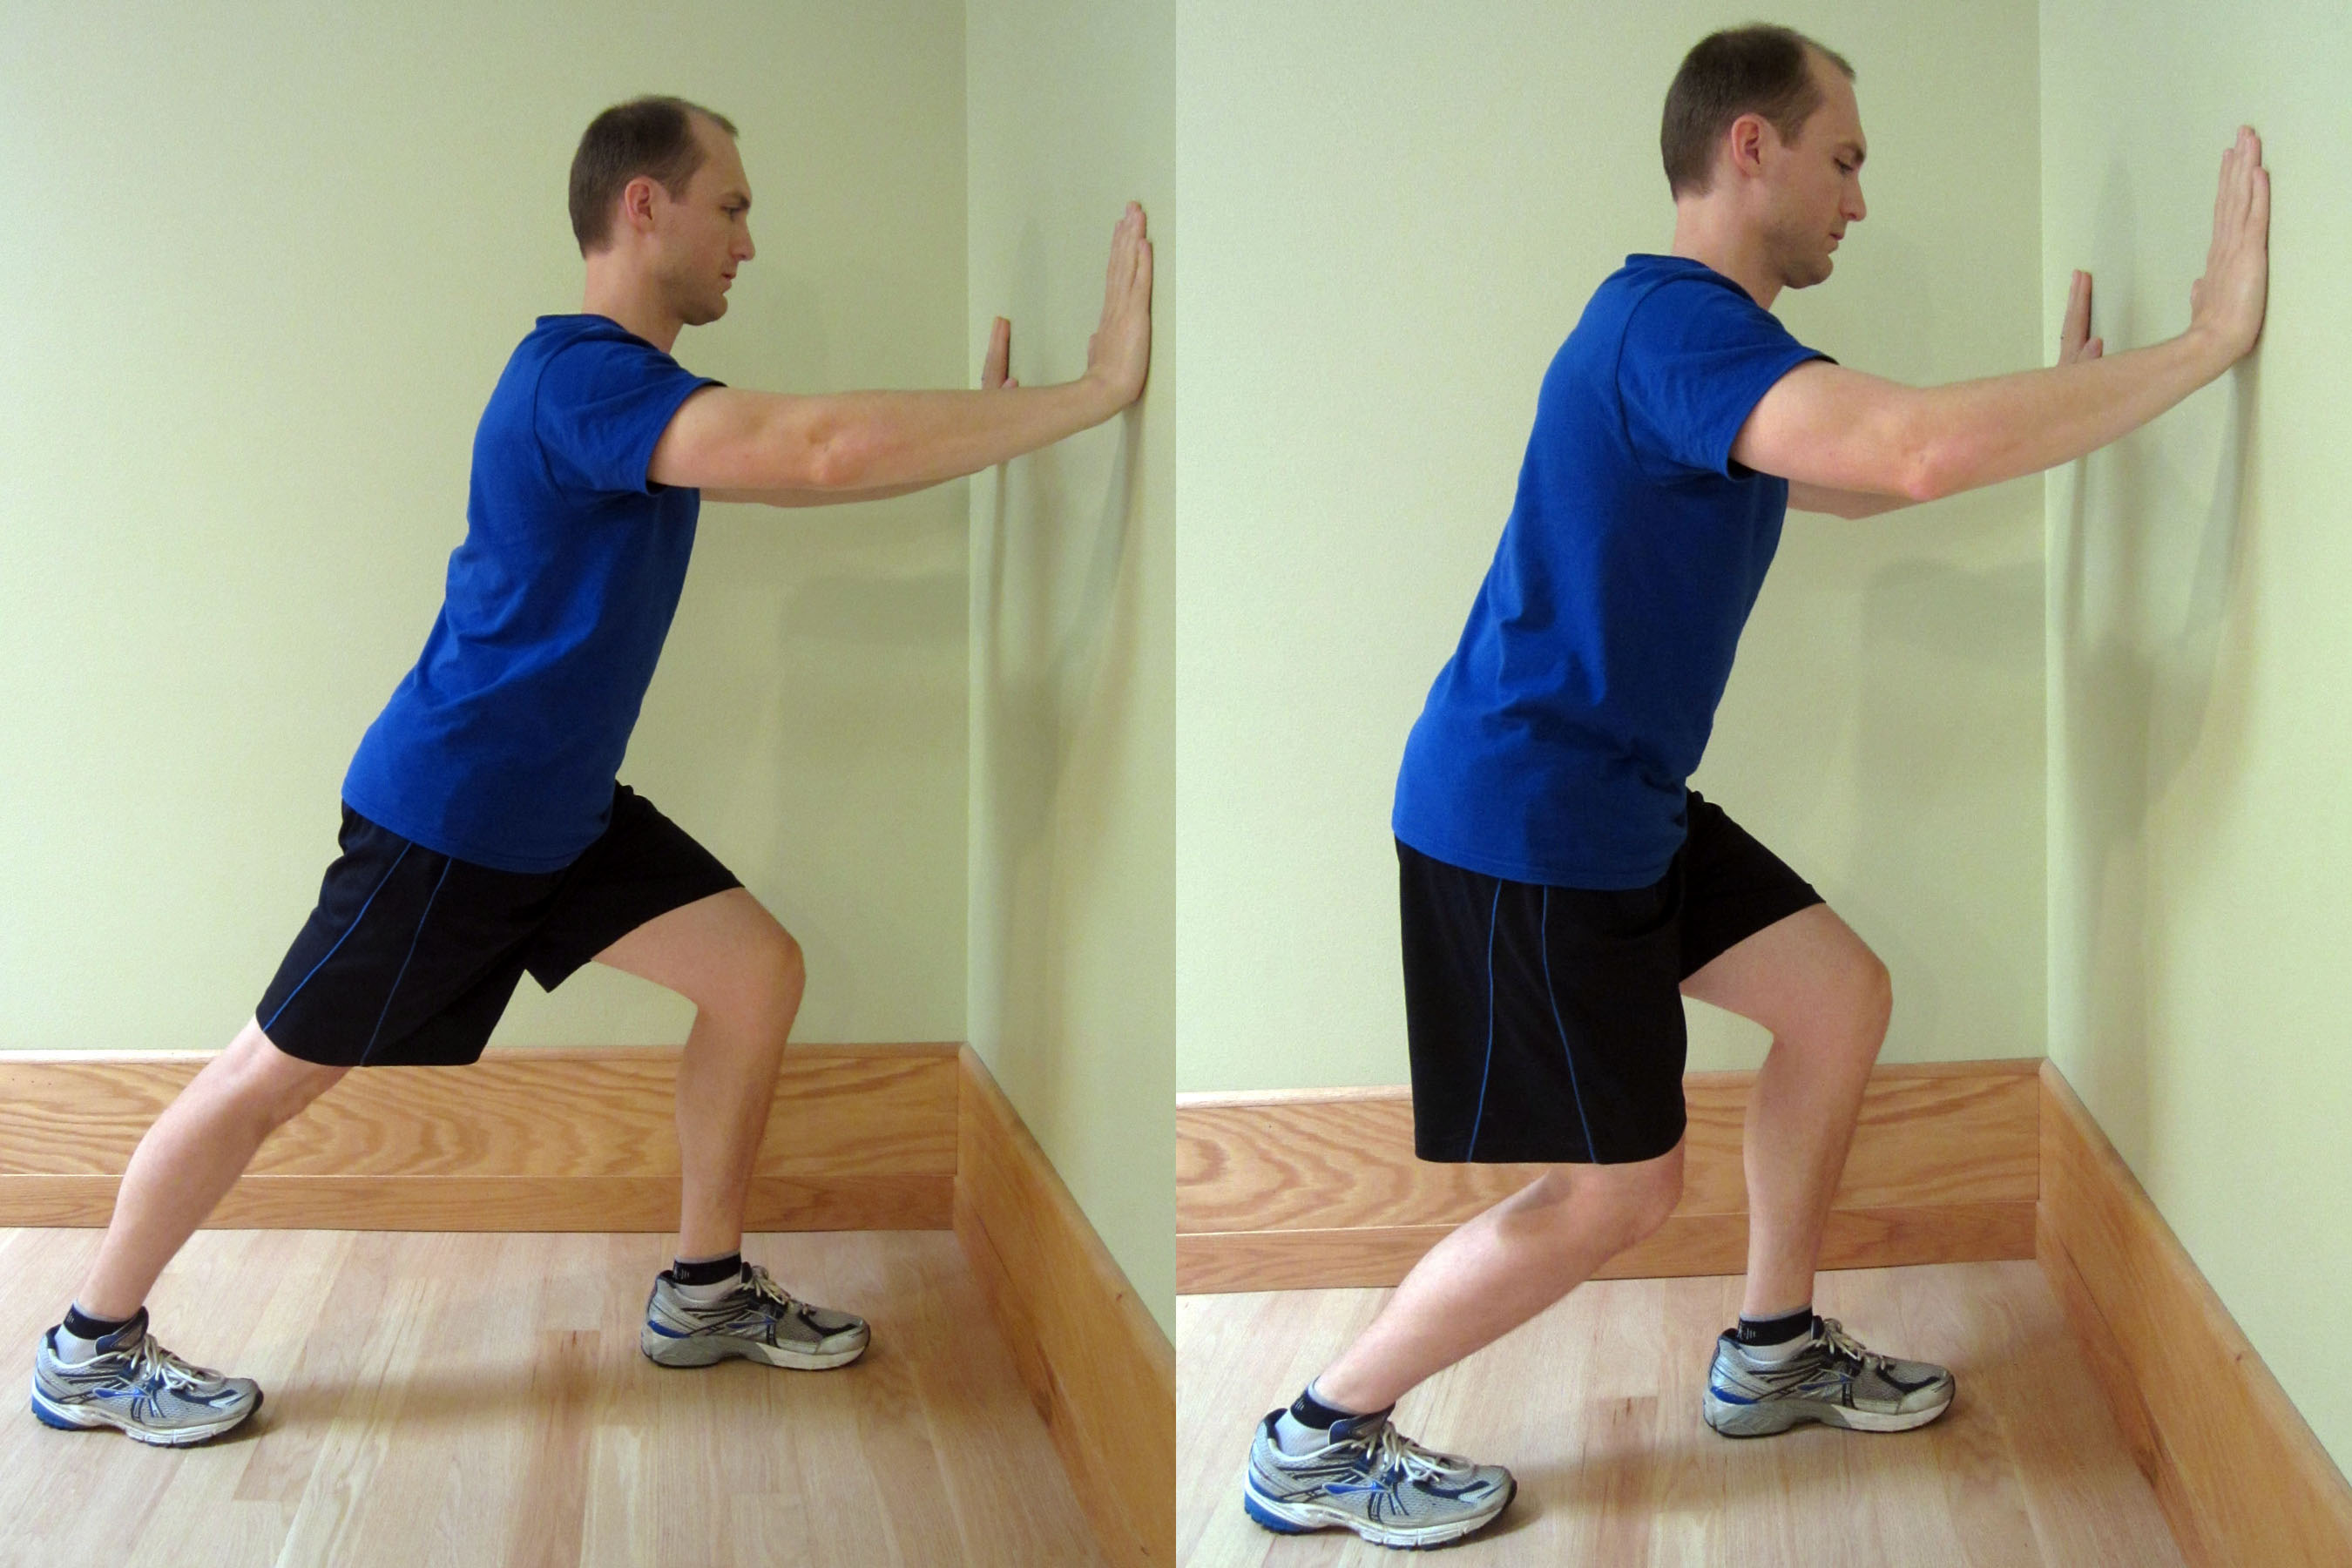
- Calf Stretching – Hold each stretch for at least 30 seconds, three times on each leg, 2-3 times a day. This stretch shouldn’t cause more than a mild increase in pain or discomfort.
- Gentle Resistive Exercises:
- Perform plantarflexion and dorsiflexion movement by initially using an exercise band. I recommend using a Thera-Band Exercise Band (http://amzn.to/USkOeo). As your pain improves, you can progress to standing heel and toe raises as long as you don’t experience more than a mild increase in pain levels.
- As pain and range of motion improve, progress to inversion and eversion with the exercise band. Stop if you experience more than a mild increase in pain levels.
- For further instruction and photos, please refer to Ankle Resistance Exercises.
- Initial Balance and Proprioception Exercises. For a complete discussion on the specifics of balance, please refer to How Do I Improve Balance? (Part I) and How Do I Improve Balance? Part II.
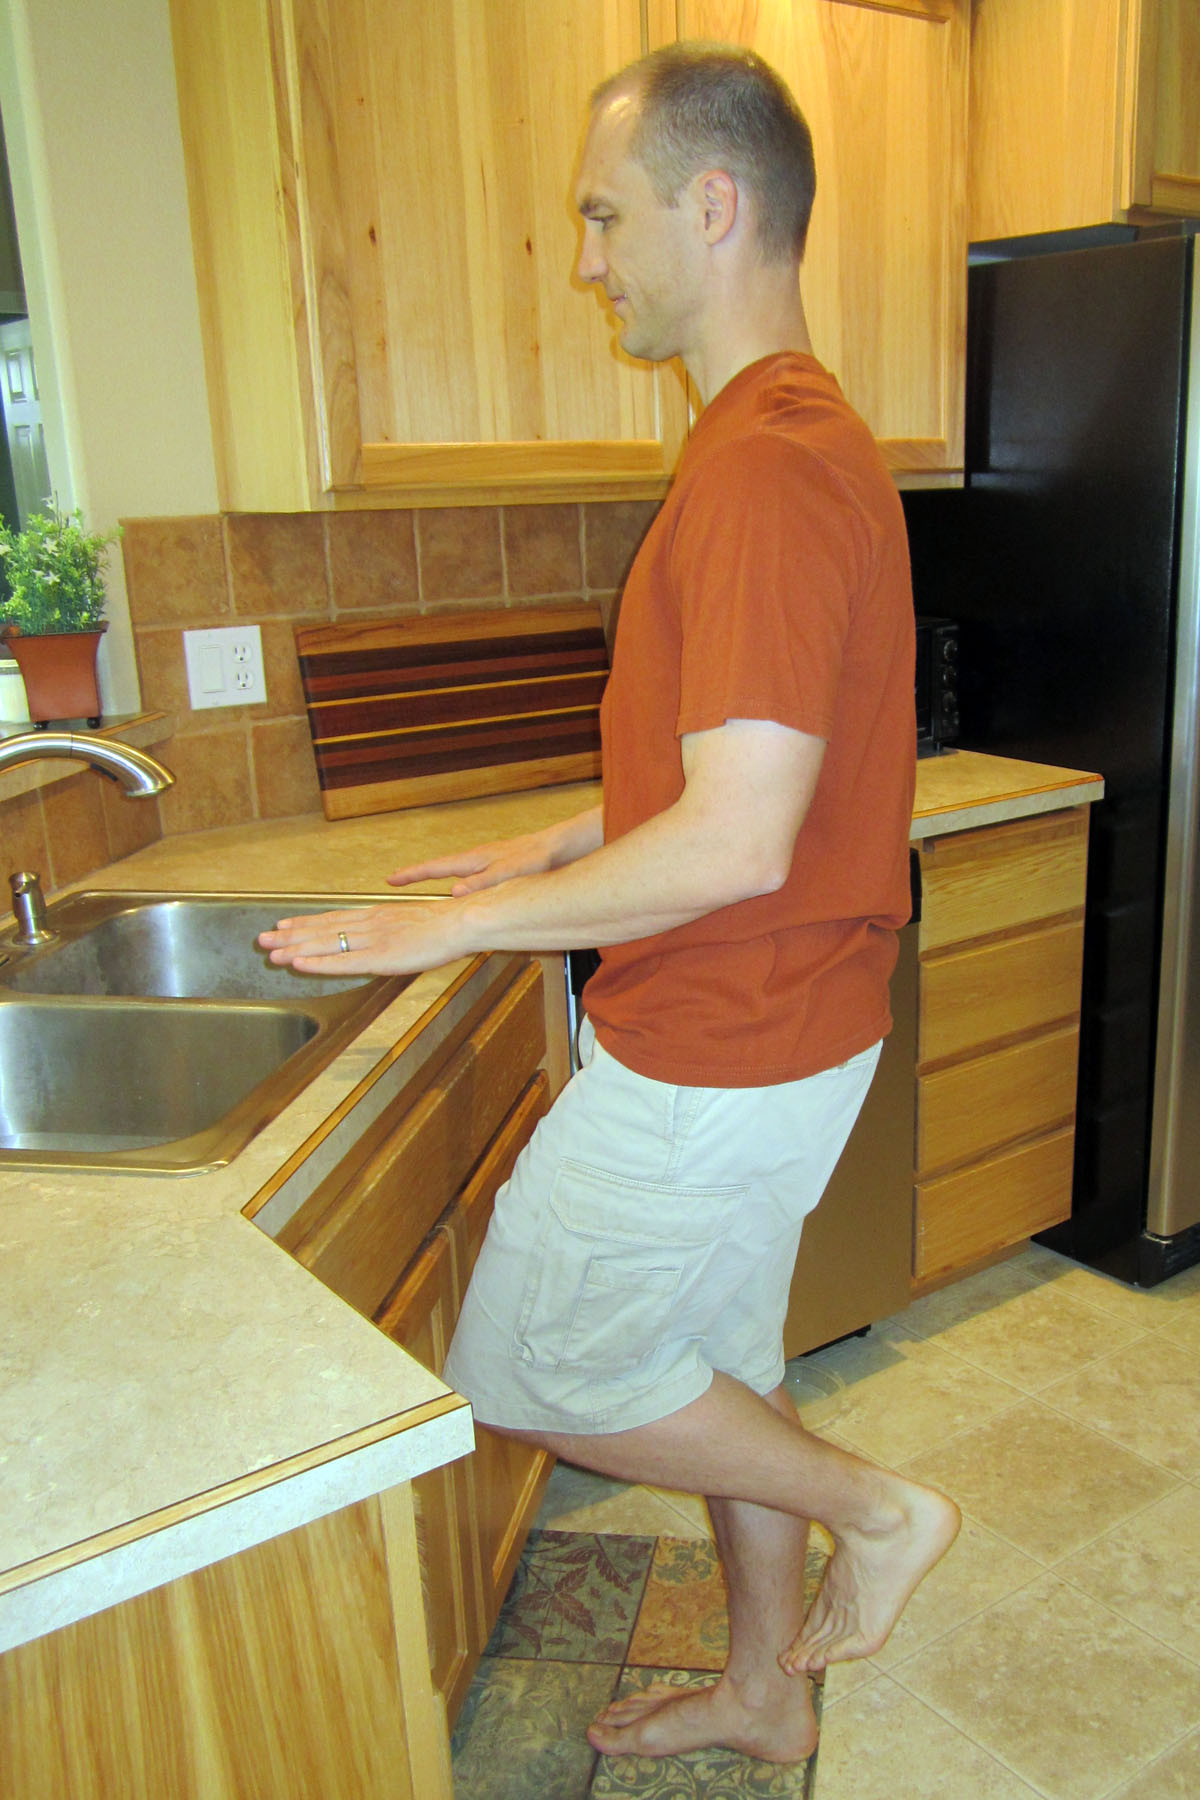
- Standing on one foot. Initially, you may need to use your hand (or a finger) on a counter top for added support. As the pain subsides and your balance improves, you may need to increase the difficulty level. As you progress, balance will become of greater importance (to be addressed in Part III).
Toward the end of the intermediate phase, you should be walking fairly normally. There will likely be some swelling. It is typical for some amount of swelling to come and go. It will be directly related to how long you are on your feet and your general lower extremity circulation. I highly recommend you continue to wear compression stockings during this time. You may also continue to experience soreness and pain–particularly after a long day or a lot of upright activity. Continue to utilize a regular icing protocol as needed for pain and swelling. Also, continue to supplement with Capra Flex by Mt. Capra (http://amzn.to/1pF936I).
It’s time to progress into the final stage of rehabilitation once you have returned to near normal walking, your pain levels are relatively low, and you are able to complete the basic exercises listed above. The final stage of rehabilitation includes a full return to daily activities and eventually, all sport or athletic activities. I will address the specifics of the final stage of rehabilitation in Part III.
Join our growing community on Facebook by liking The Physical Therapy Advisor! If you have a question that you would like featured in an upcoming blog post, please e-mail contact@thephysicaltherapyadvisor.com.
Disclaimer: The Physical Therapy Advisor blog is for general informational purposes only and does not constitute the practice of medicine or other professional health care services, including the giving of medical advice. No health care provider/patient relationship is formed. The use of information on this blog or materials linked from this blog is at your own risk. The content of this blog is not intended to be a substitute for professional medical advice, diagnosis, or treatment. Do not disregard, or delay in obtaining, medical advice for any medical condition you may have. Please seek the assistance of your health care professionals for any such conditions.